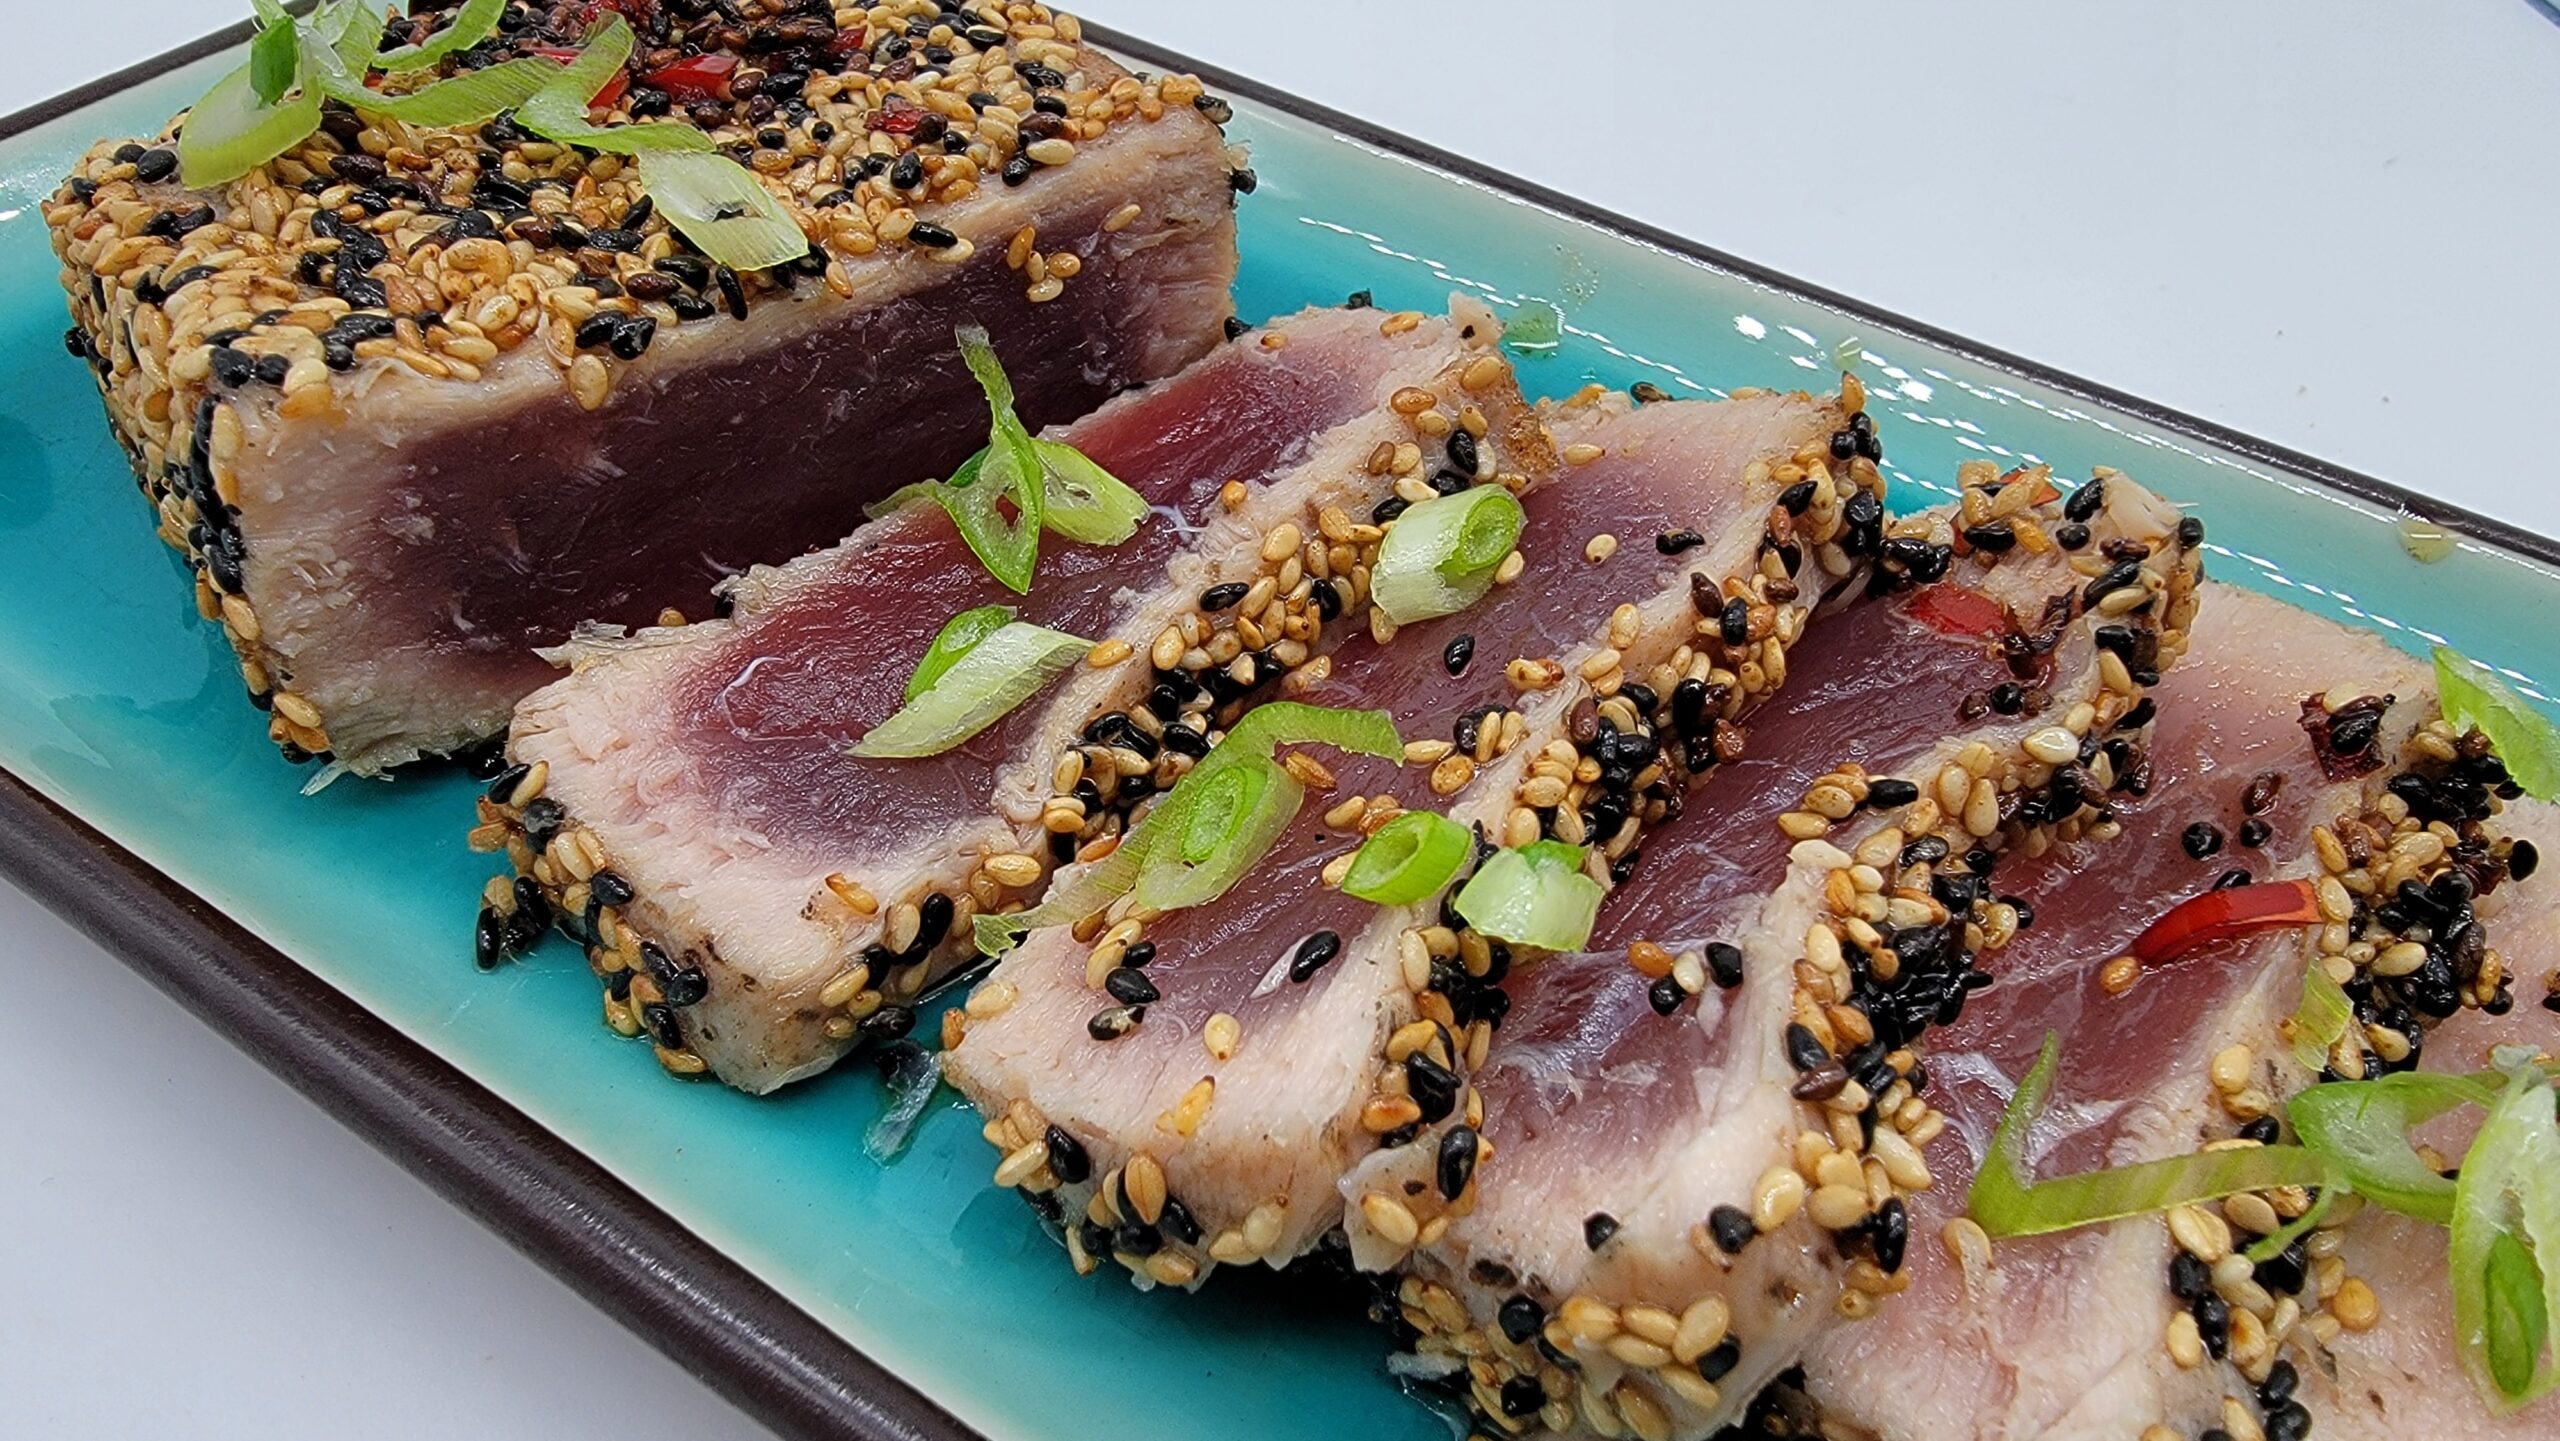
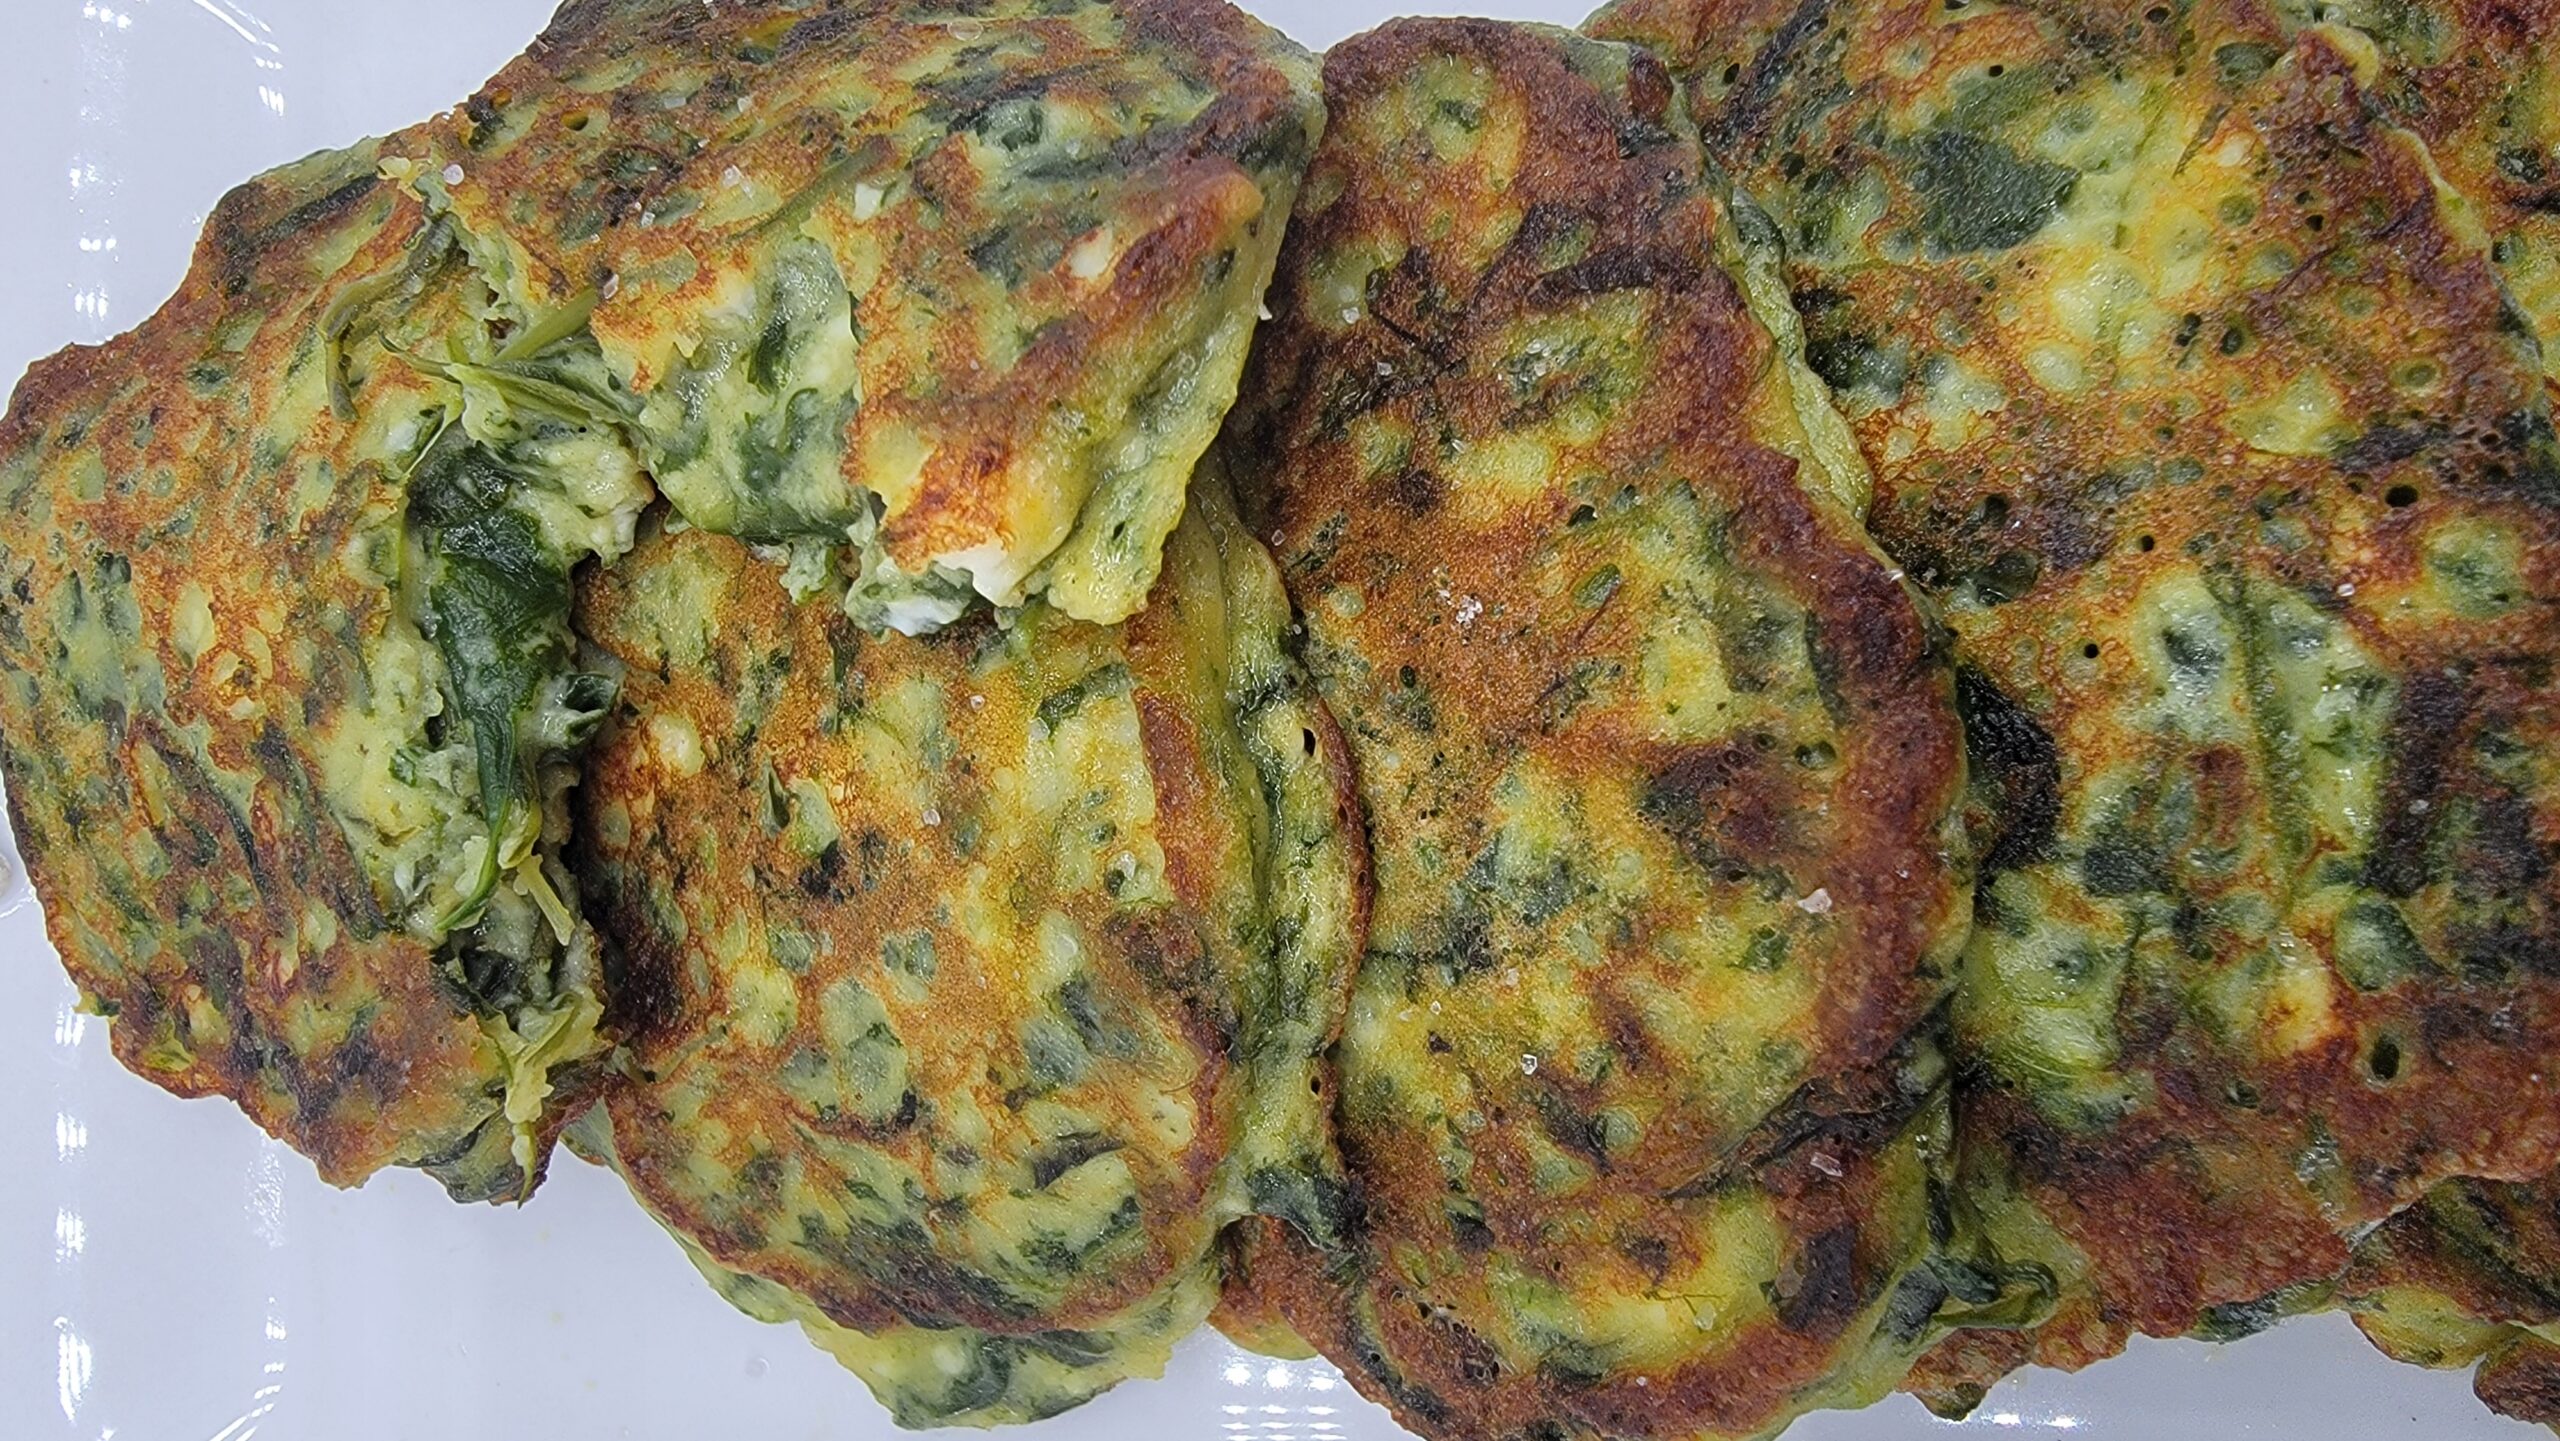
I never thought it’s so easy to prepare! Just needs sushi grade log of tuna, sesame seeds, black pepper and optional ginger. Pat dry your
Category: Uncategorized
Brisket Alternative
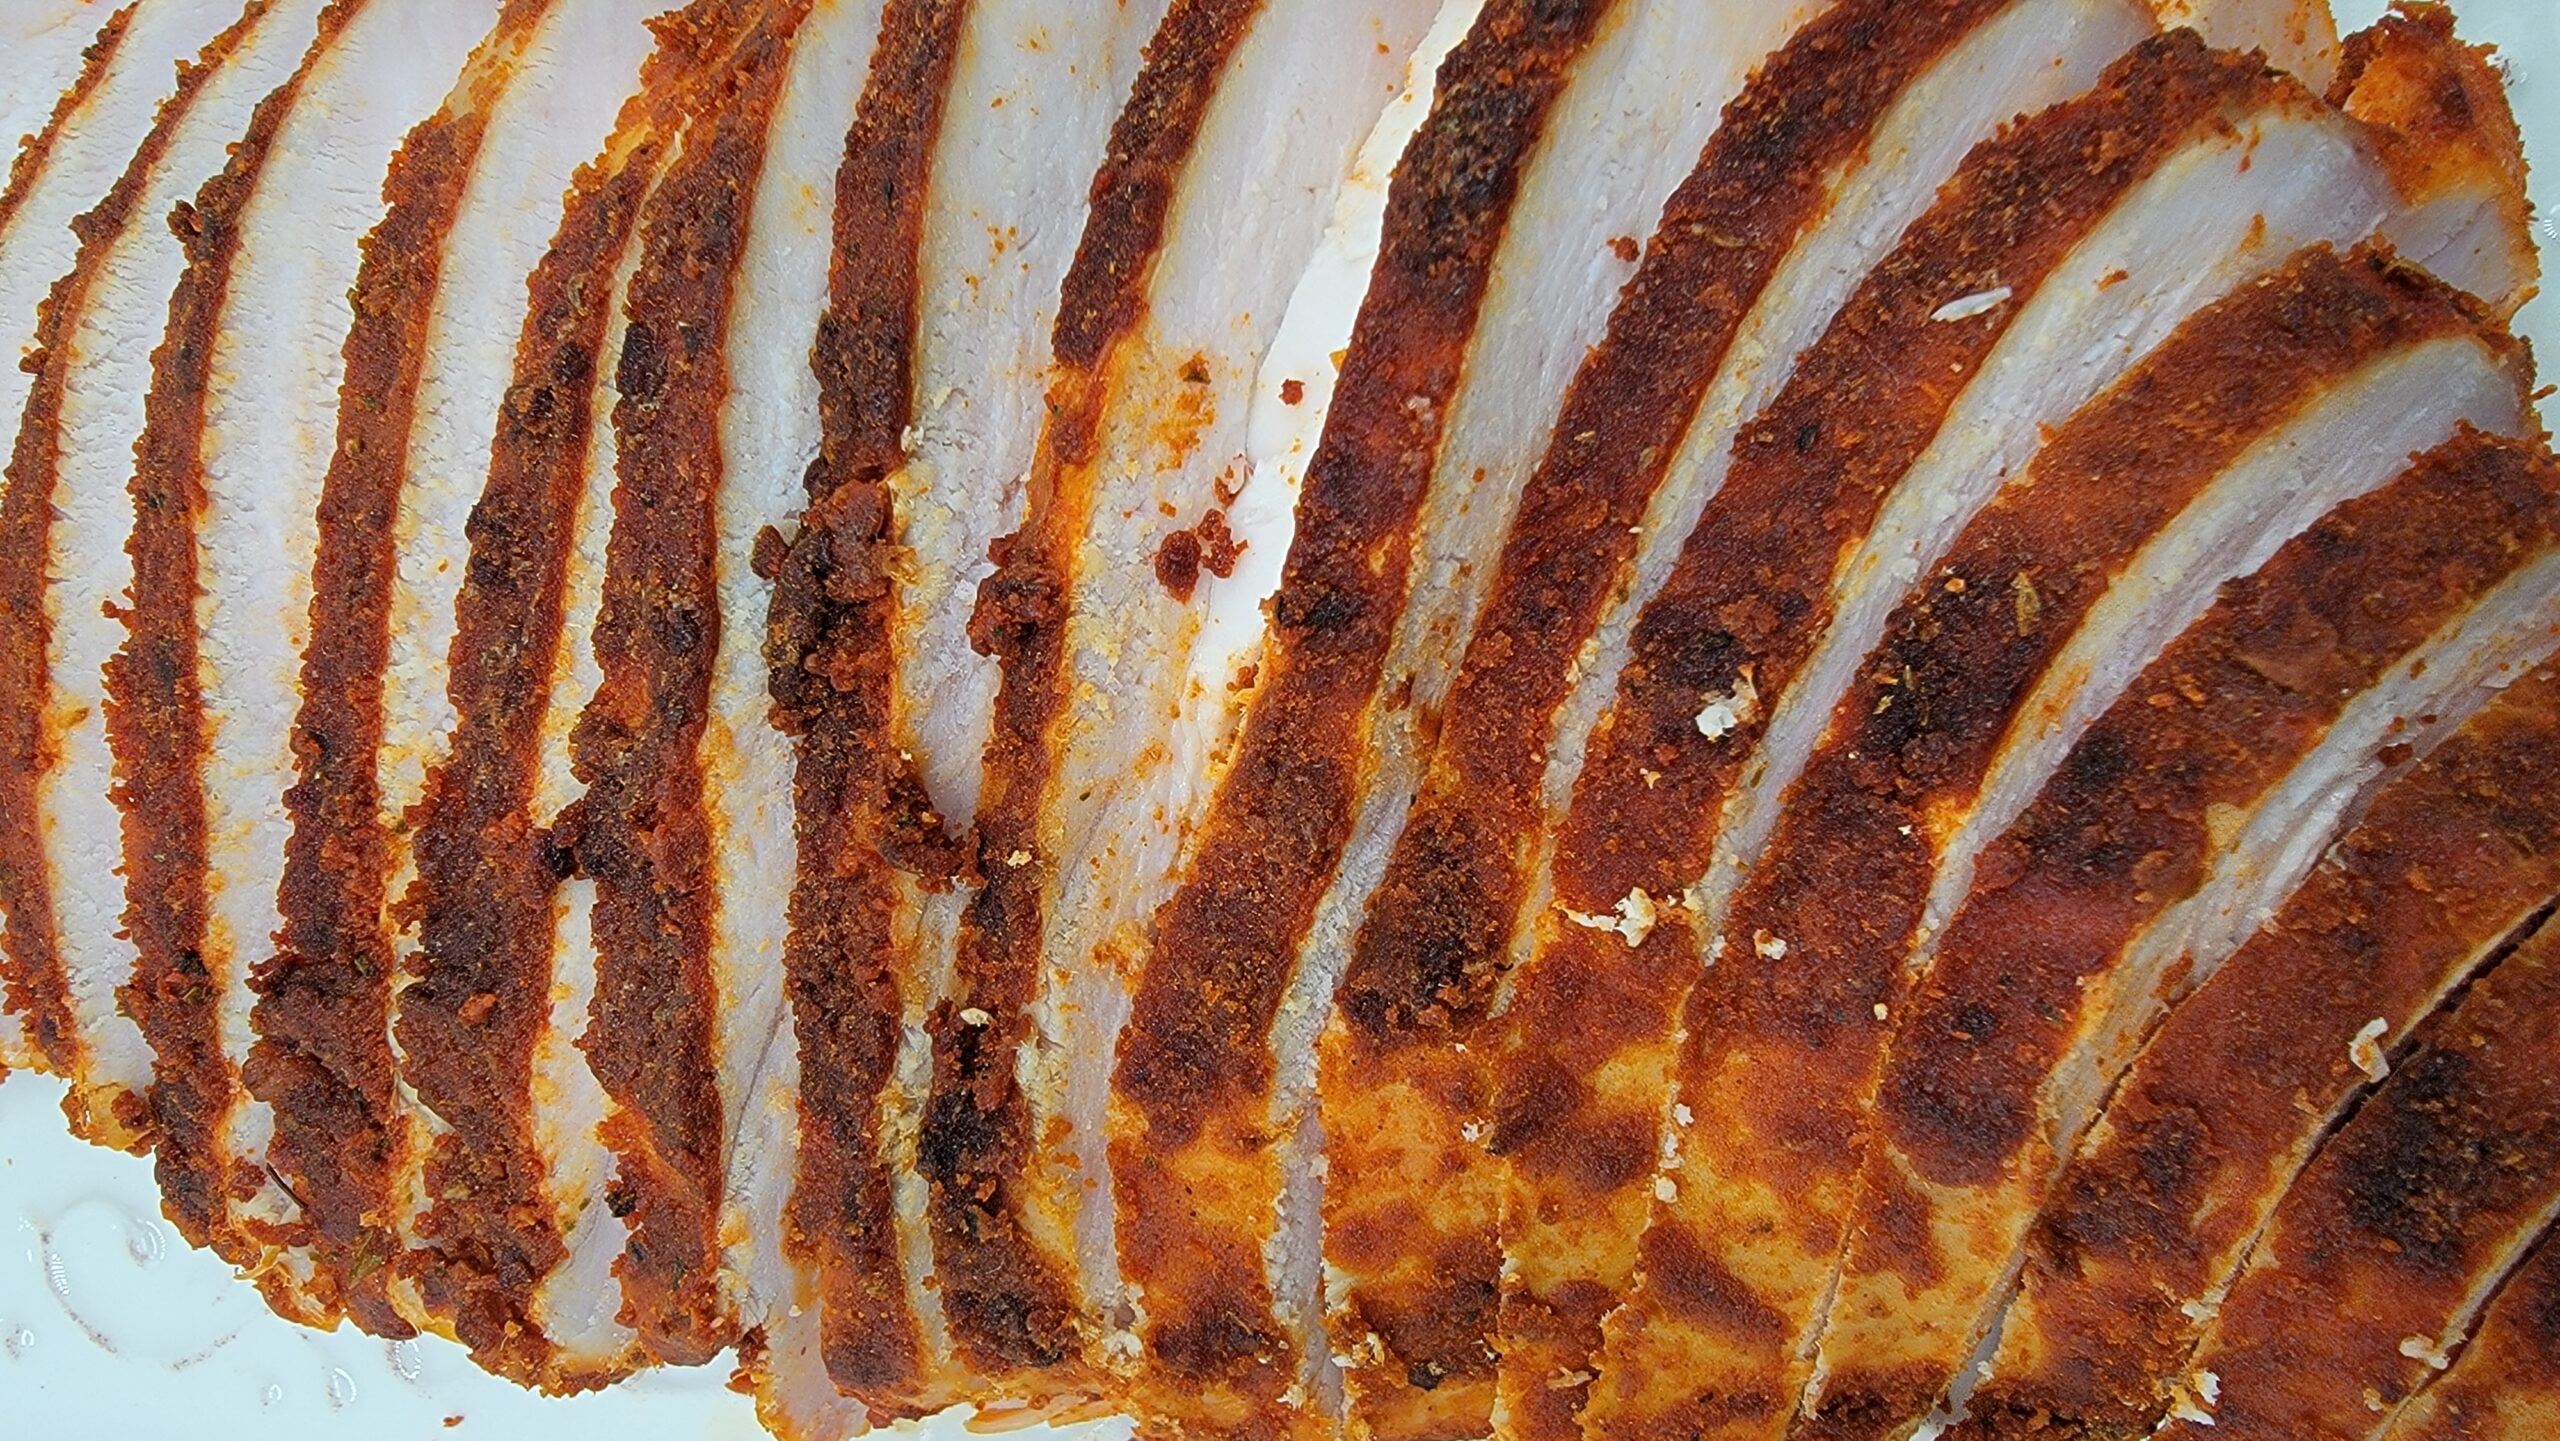
It is turkey alternative for those who avoid red meat. And with this dish – they won’t lose much. Hard to believe that lean dry
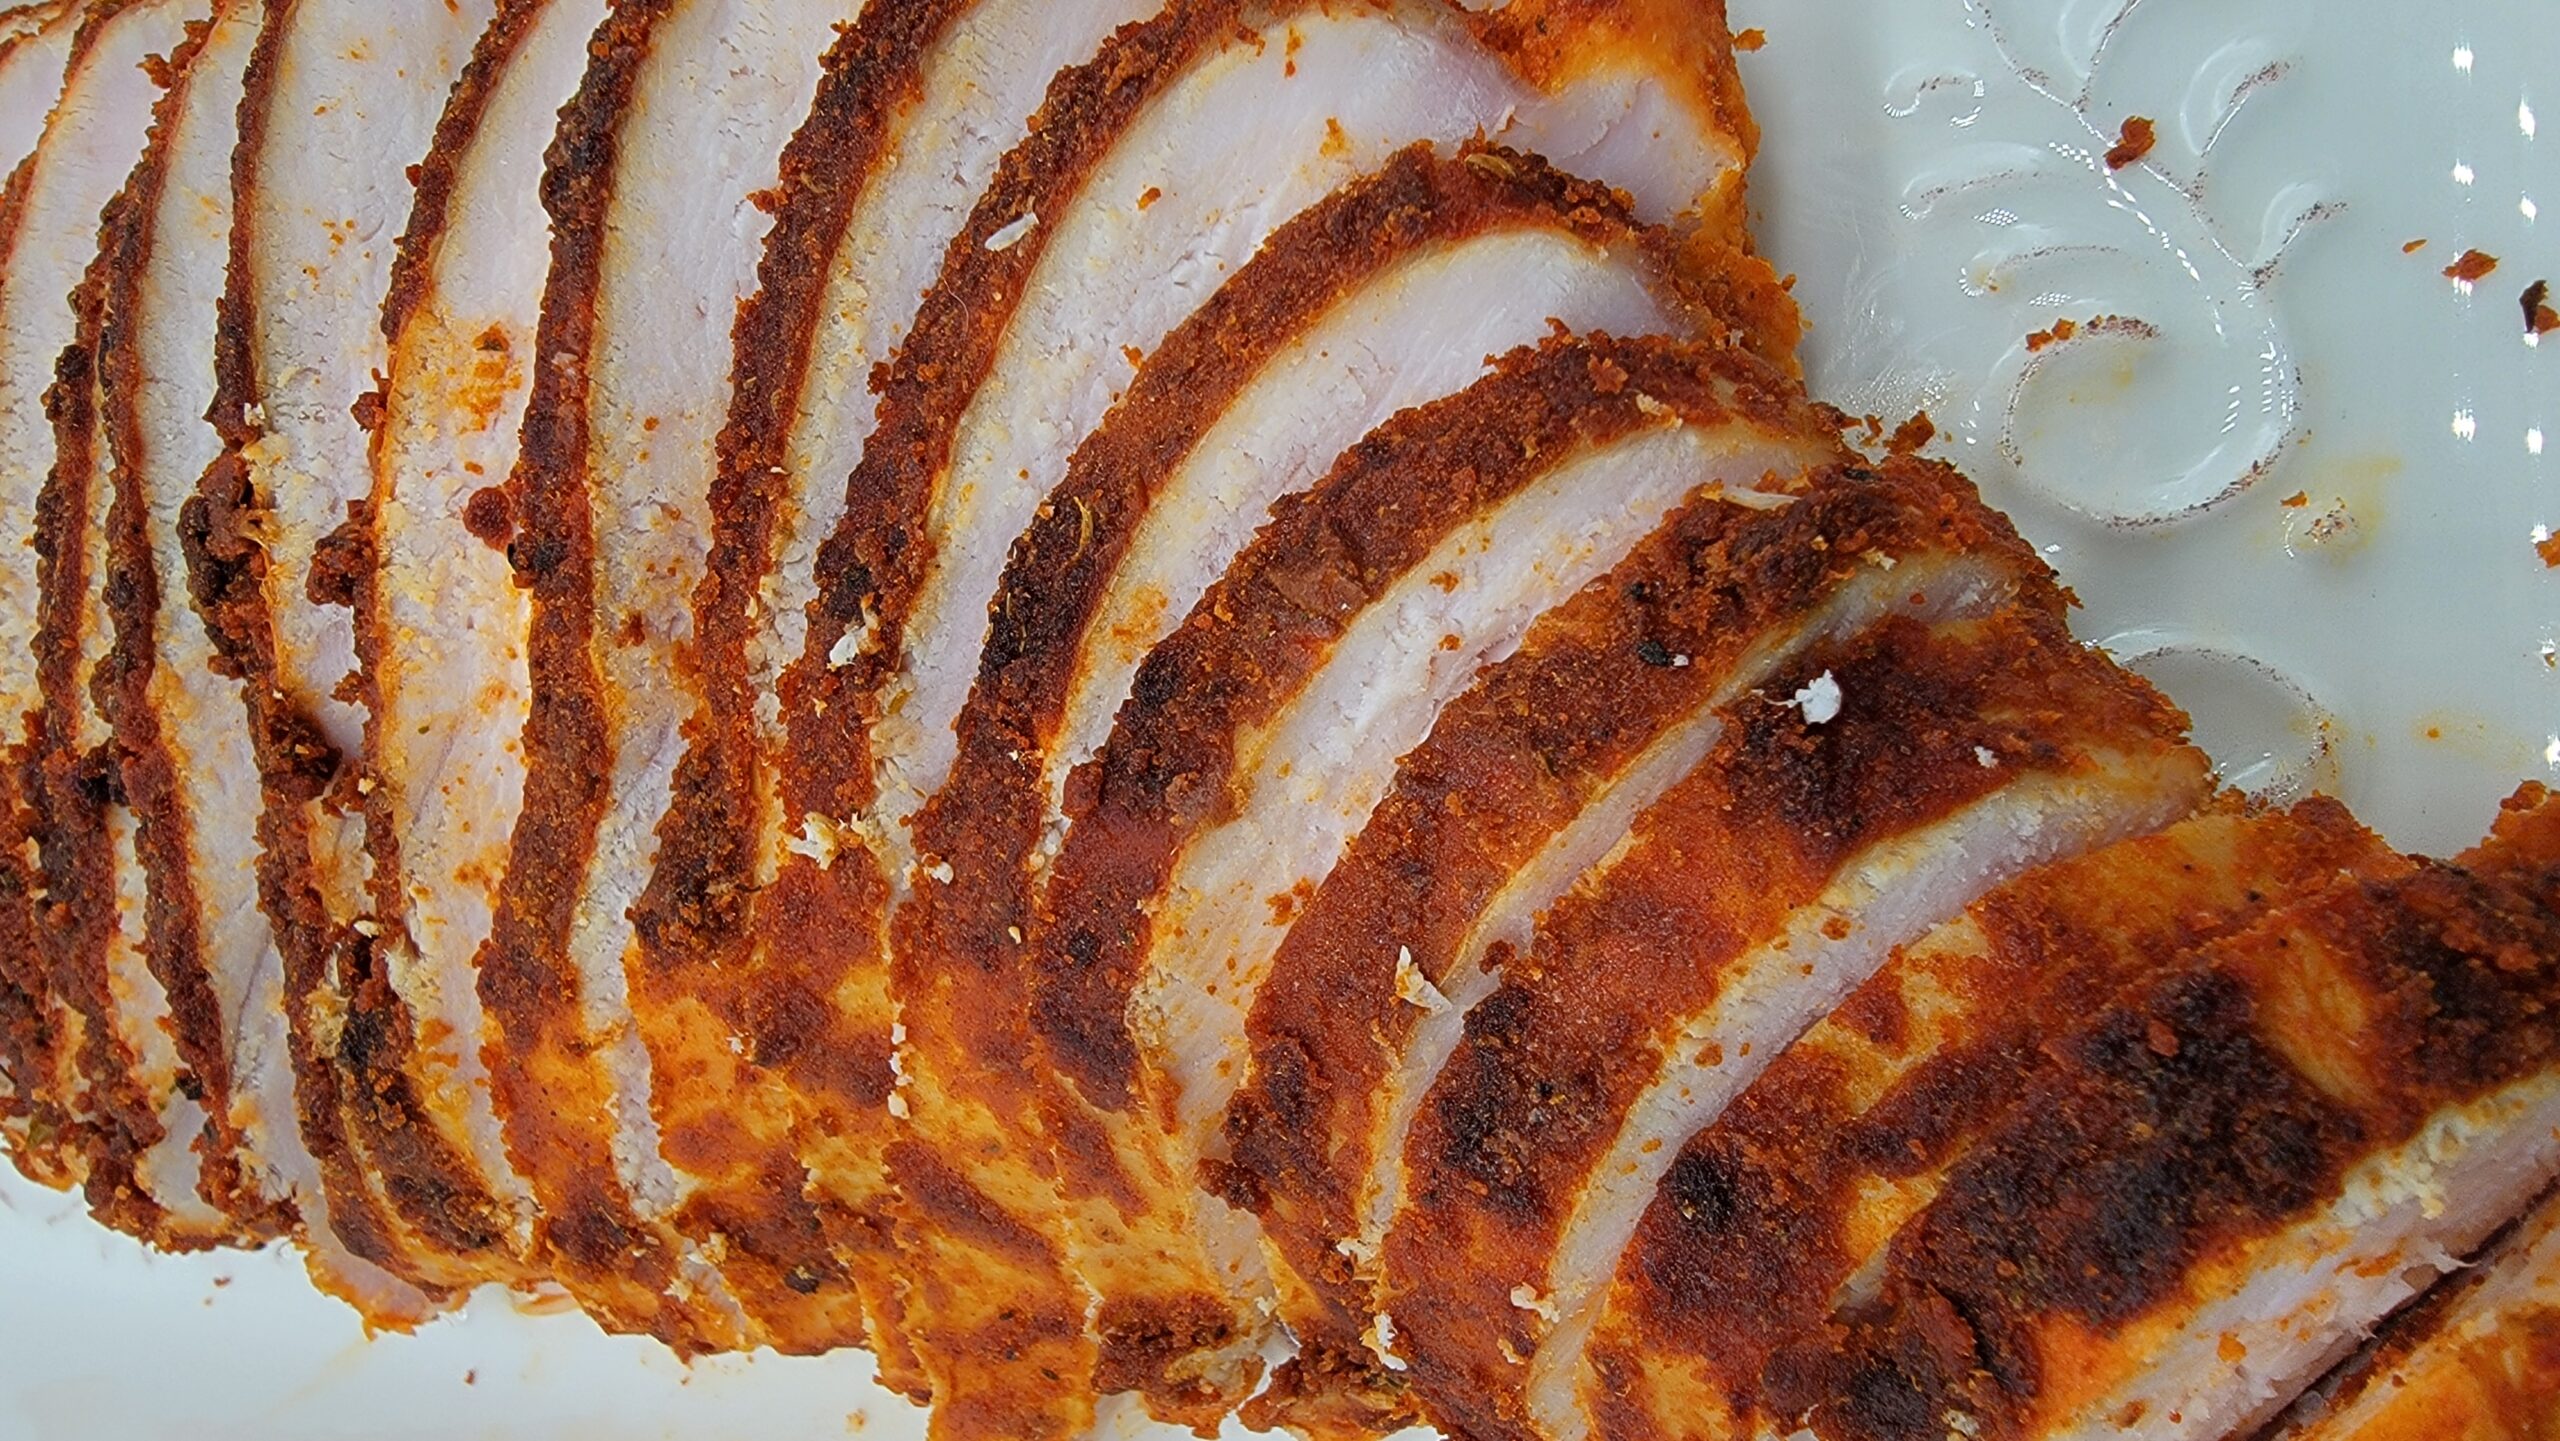
Roasted Turkey Breast
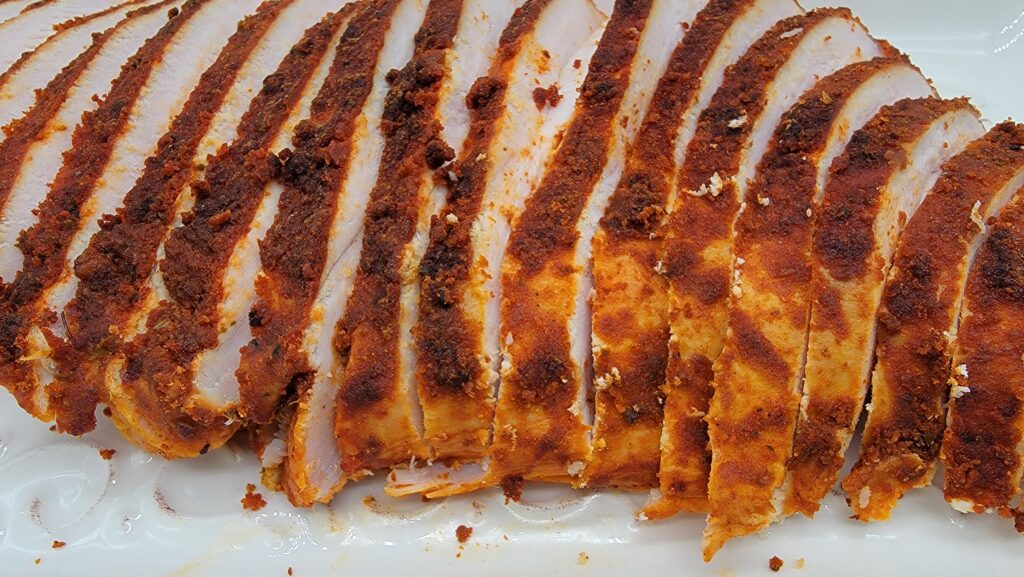
Great substitute for store bought cold cuts, but much better. No additives, preservatives – just pure delicious.
Ingredients:
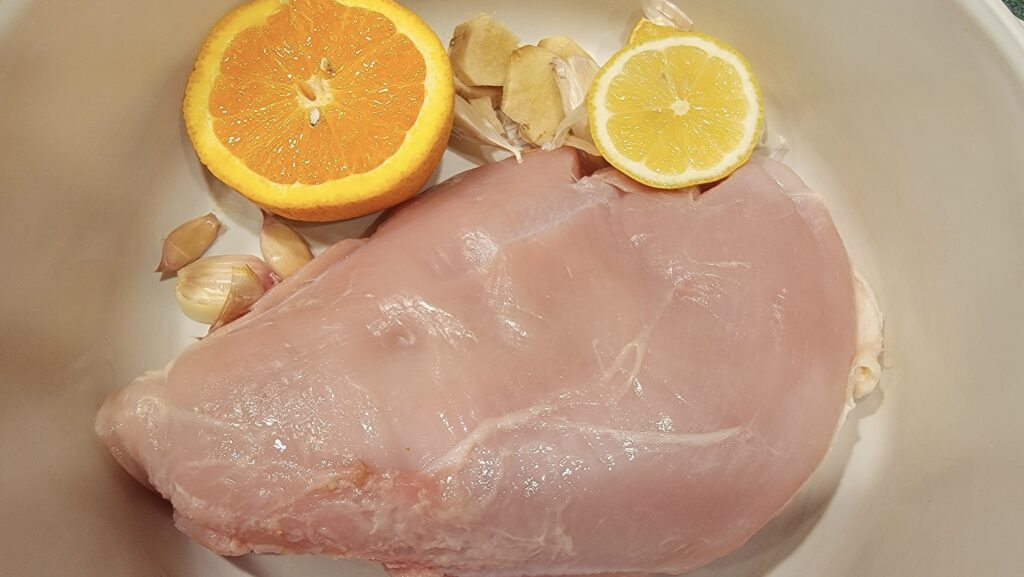
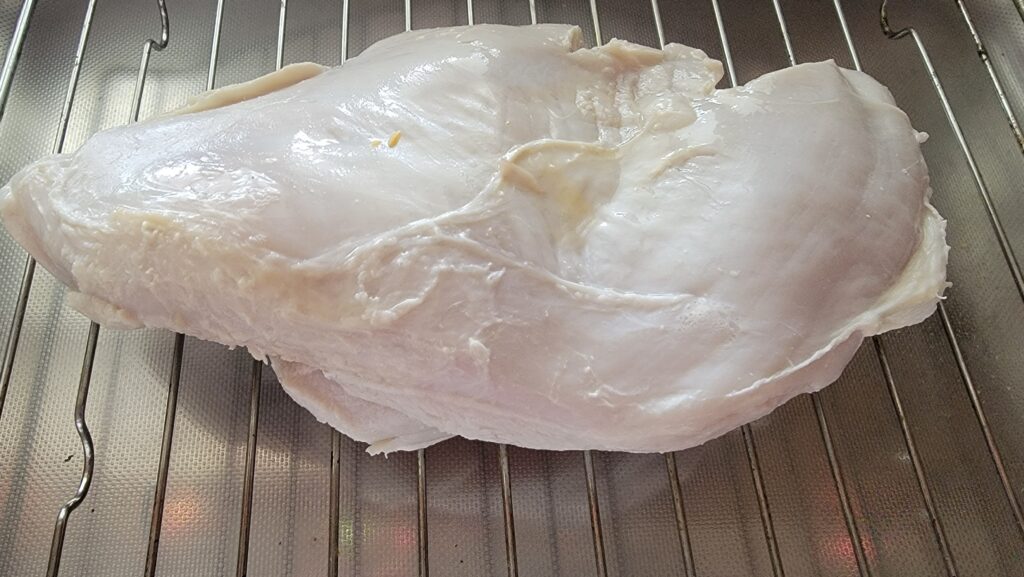
- Turkey breast (bone and skin removed)
- Marinade
- Spice Mixture
- Butter – 2 tbsp
For marinade:
- Water – ~1.5 liter/32 ounces, maybe a little more, just to cover turkey breast
- Juice of half lemon + optional orange or grapefruit juice
- Garlic – 3-4 cloves (smashed)
- Ginger – 1 inch piece, sliced
- Salt – 1/4 cup
- Sugar – 1 tbsp
- Apple cider vinegar – 1/4 cup
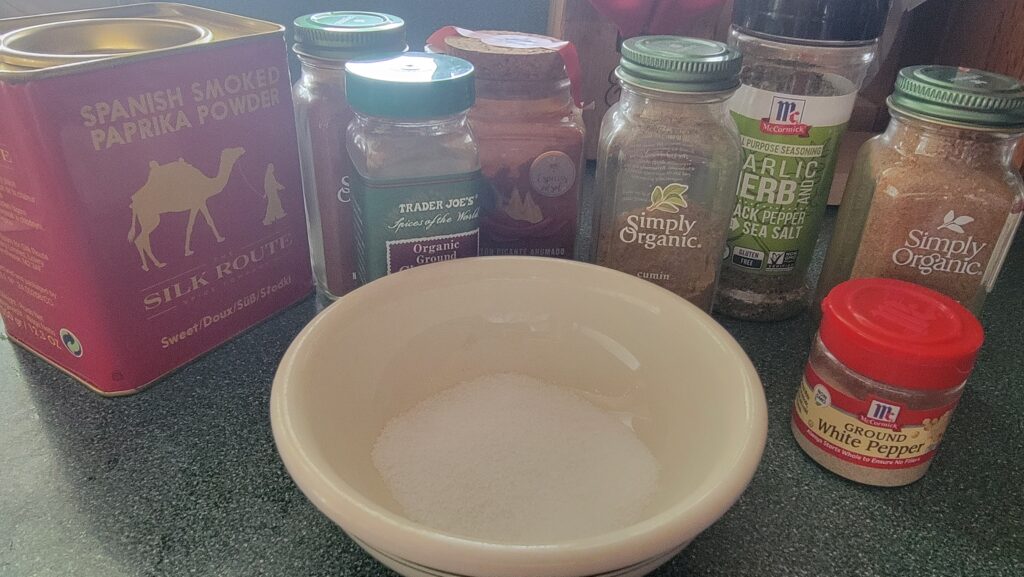
For spice mixture:
- Salt – 1/2 tsp
- Black pepper – 1/4 tsp
- White pepper – 1/4 tsp
- Paprika – 1 tsp
- Cayenne – 1/4 tsp
- Cinnamon – 1/4 tsp
- Cumin – 1tsp
- Dry garlic – 1tsp
Directions:
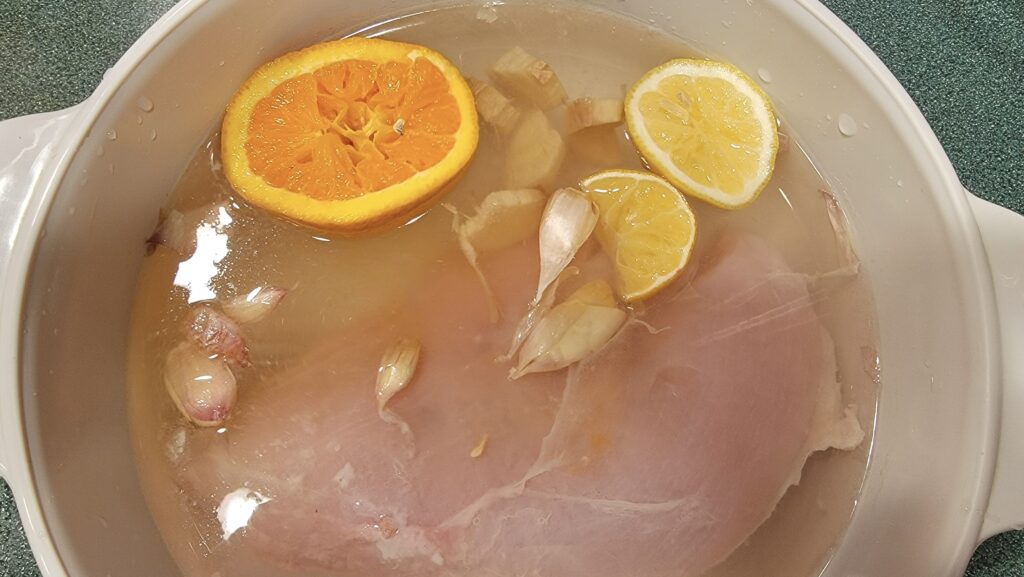
- Pour water into a deep pan
- Add salt, sugar, vinegar, make sure salt and sugar dissolves
- Place turkey breast into a pan
- Squeeze lemon juice into the marinade, add garlic and ginger
- Let it marinade in the fridge for several hours or overnight
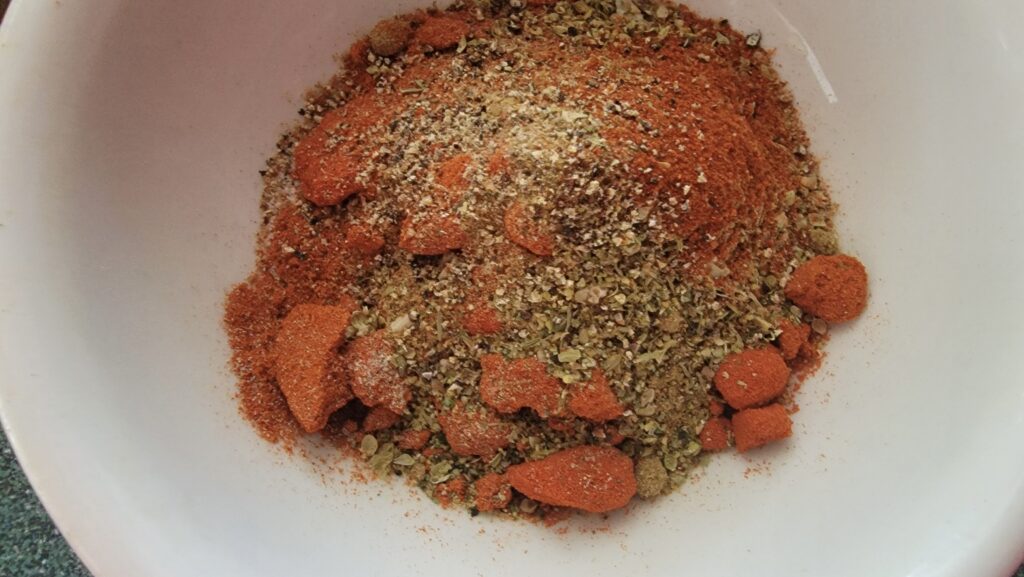
- Mix your spices
- When it’s marinated (after several hours or overnight) – pat dry turkey breast
- Place on a rack over deep baking sheet
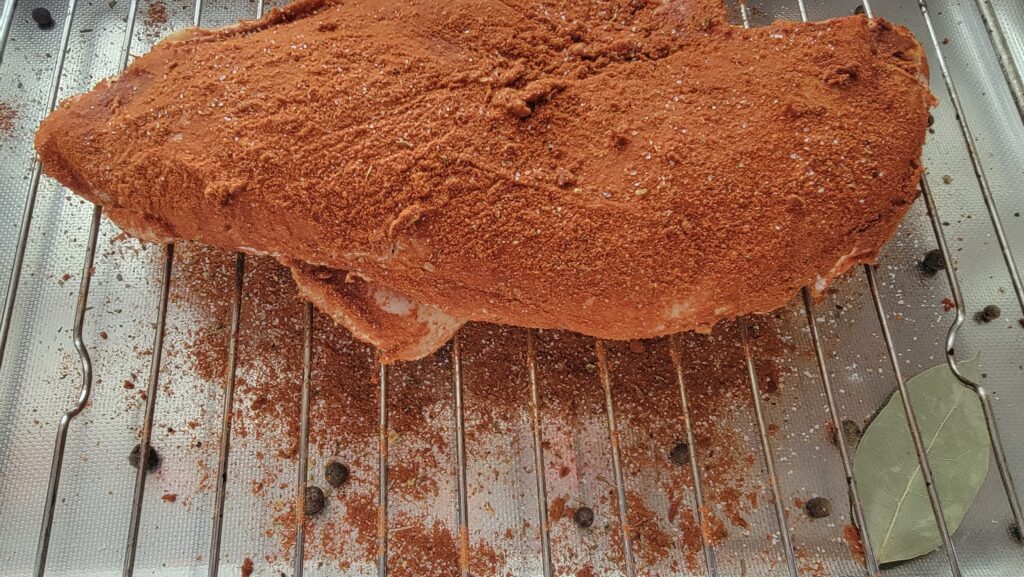
- Massage turkey breast with the spice mixture
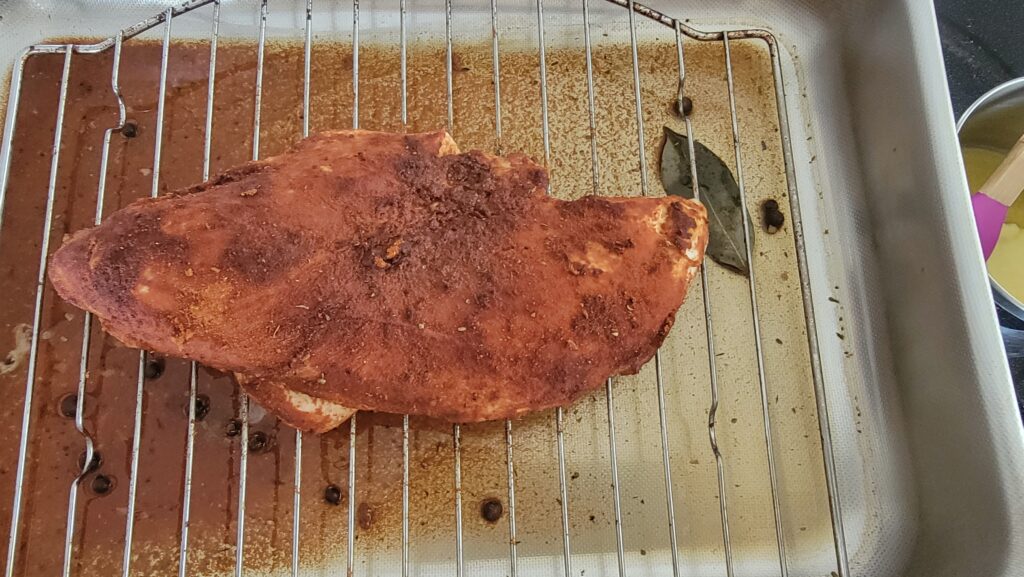
- Pour 3-4 cups of hot water into the baking sheet, so the turkey breast remains moist, but it shouldn’t touch it.
- Add couple of bay leaves and all spice to the hot water
- Preheat your oven to 275-300 °F
- Place baking sheet into oven and roast 2-2.5 hours
- After an hour baste the breast with melted butter to develop stronger crust
- Add more hot water in case it evaporated.
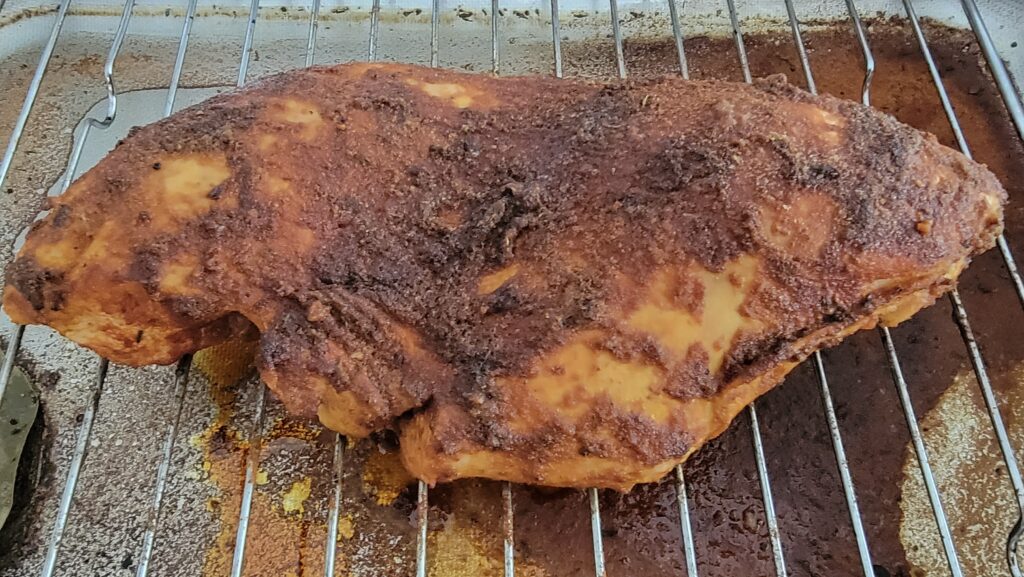
- Repeat basting couple more times till fully cooked
- Let it cool down
- Serve cold or room temperature
Oatmeal Is Not Punishment
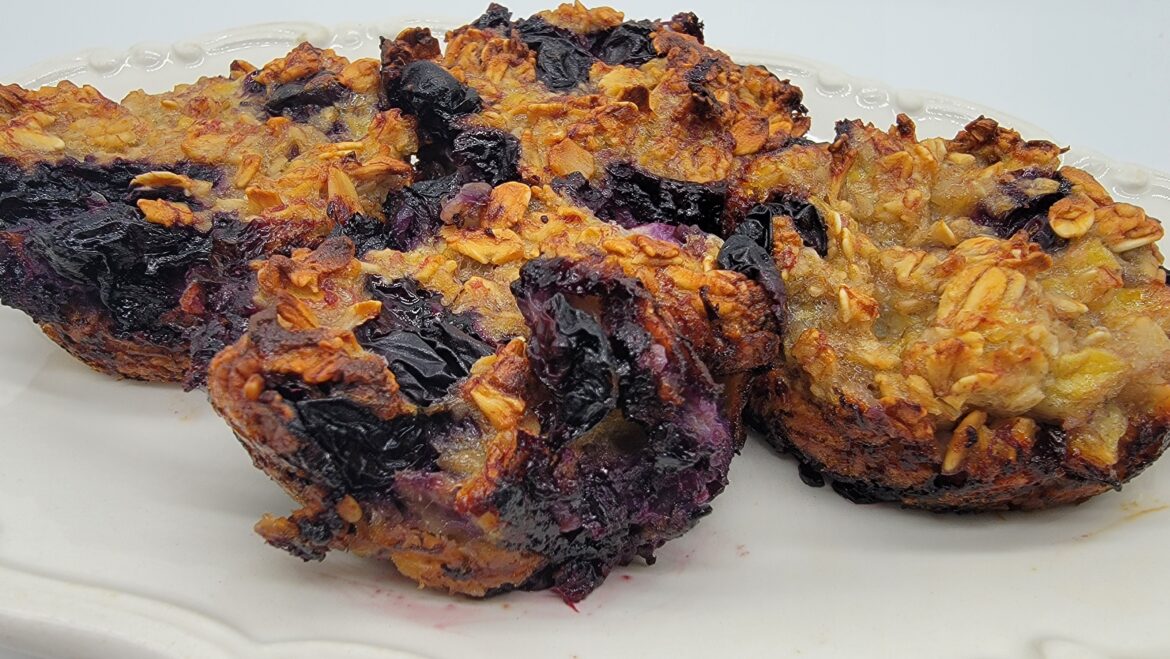
And it doesn’t have to be boring. Here is how I make pure oatmeal muffin with no flour, no eggs – just rolls of oats
Roasted Cauliflower
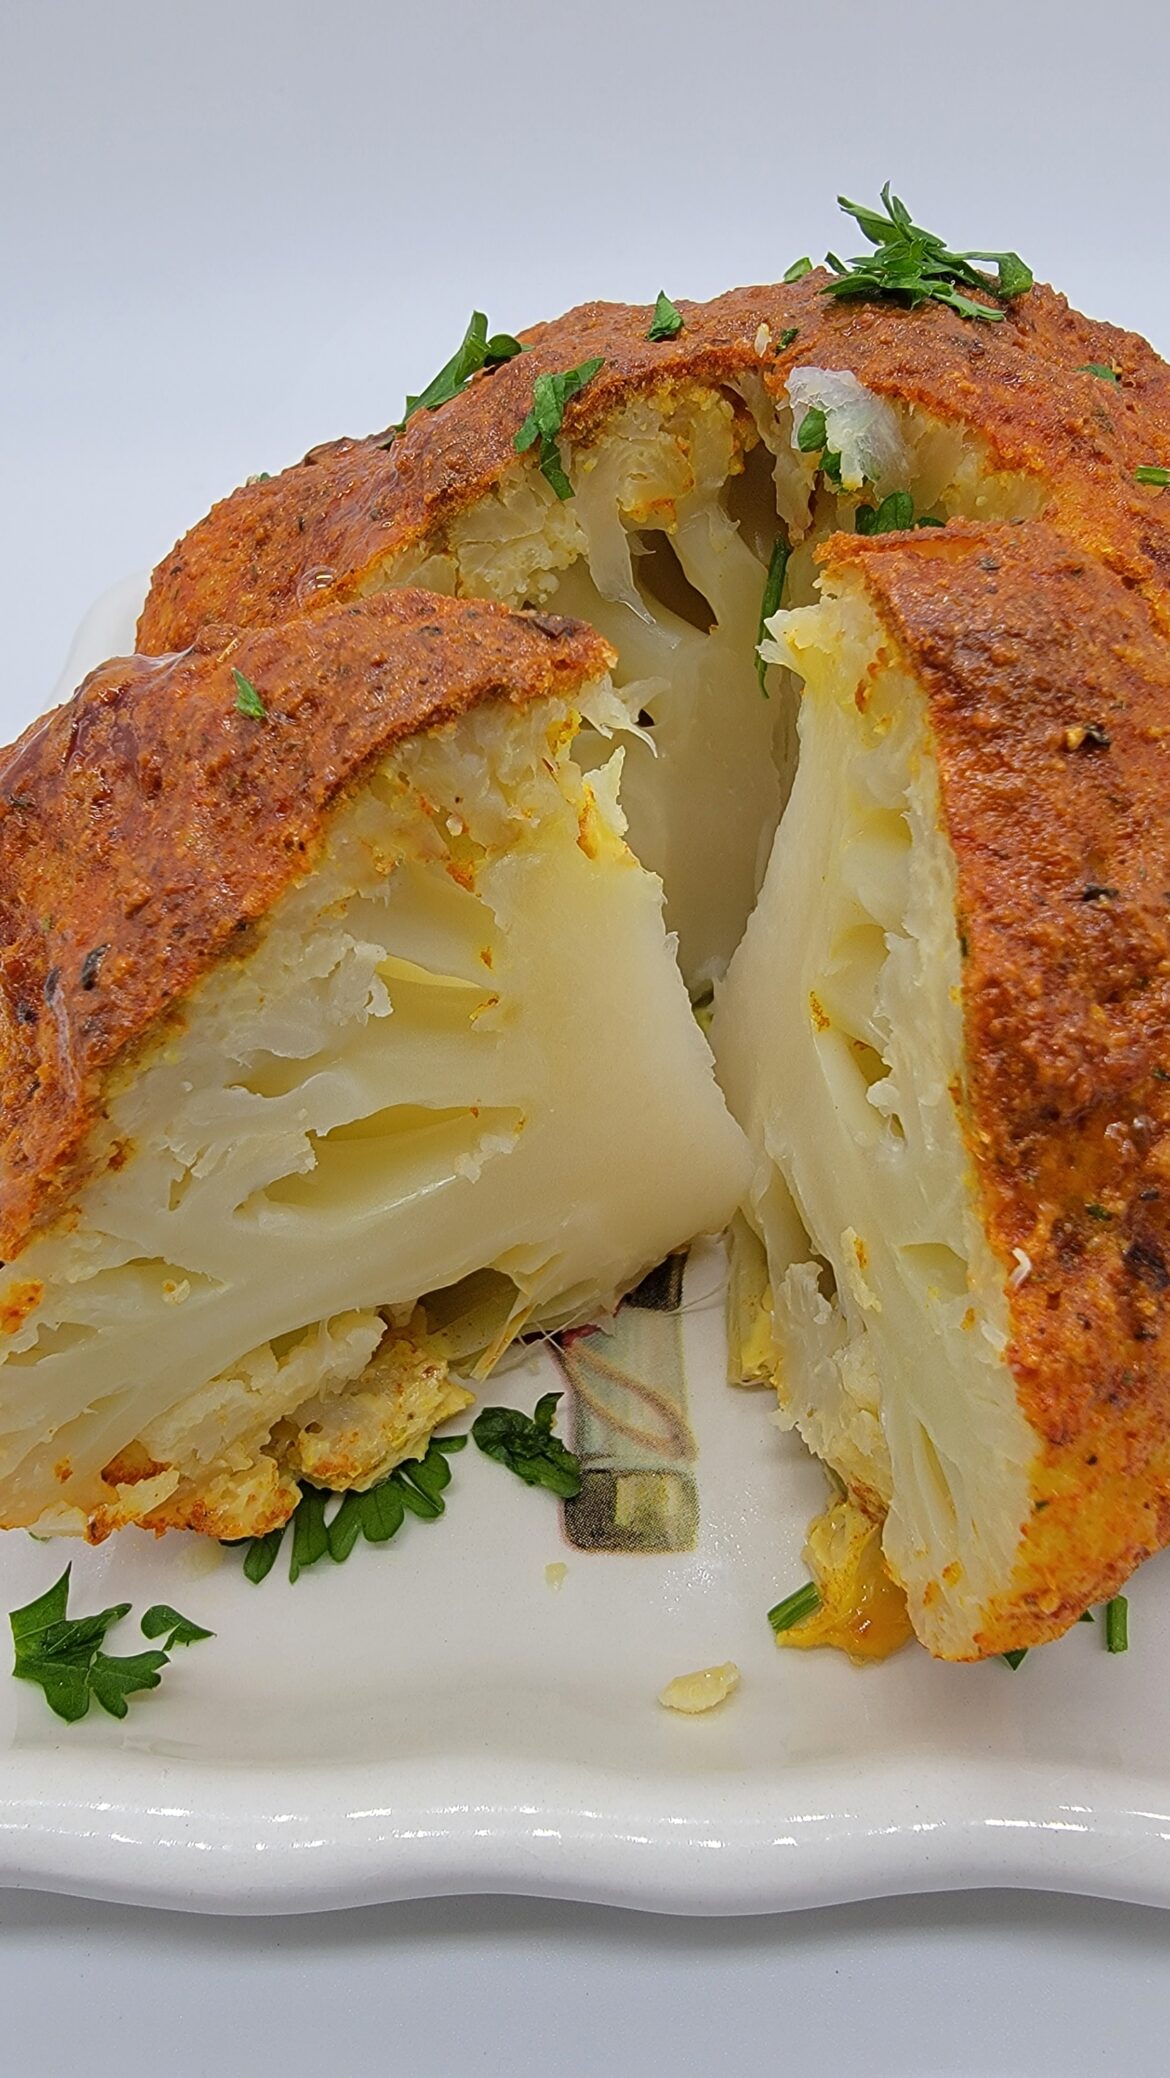
Gorgeous side or even main dish – easy, tasty, pretty and healthy.
Highly recommended
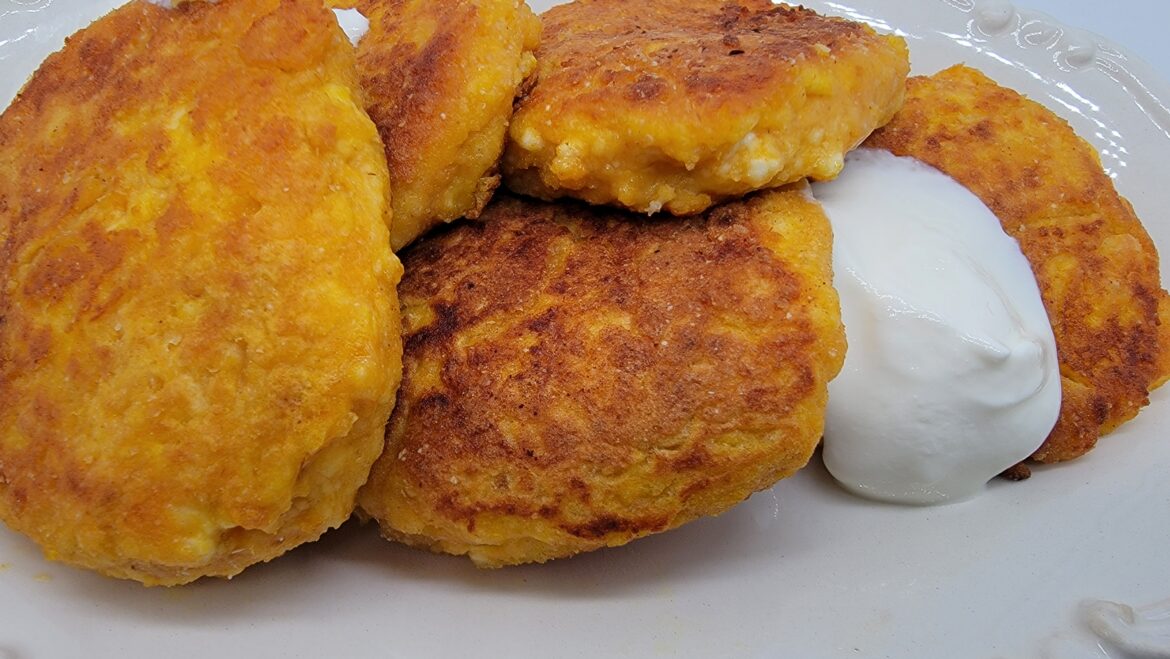
These are traditional Russian mini cheese cakes (syrniki) with mashed roasted pumpkin. The tradition says: take 1/2 of ricotta cheese (home made tvorog), 1 egg,
Celebrate Pumpkin
It is sweet, but versatile, works with practically everything – from appetizers to desserts, with soups, raviolis, and meatloaf in between. And makes everything taste

Pumpkin Gnocchi

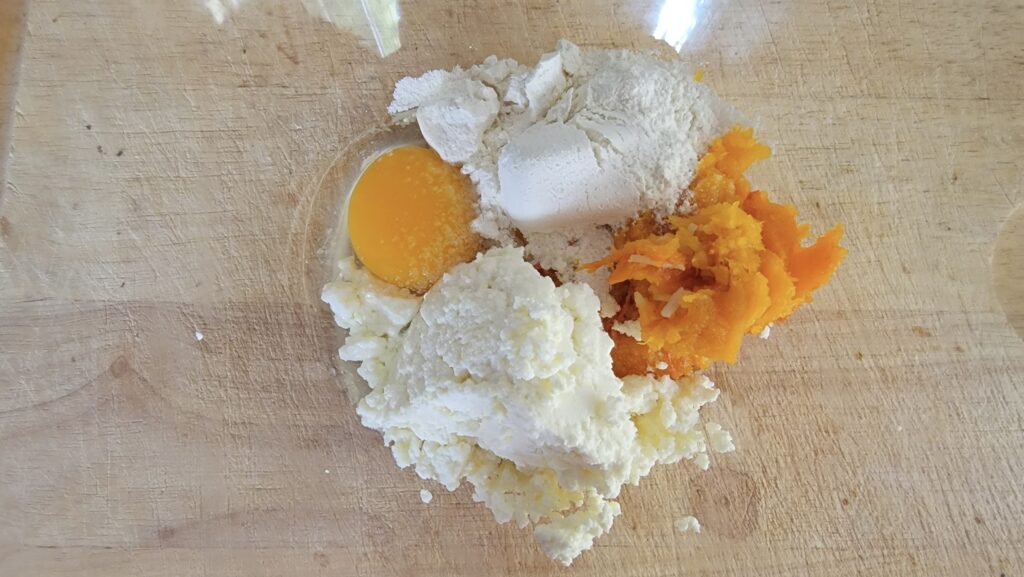
Ingredients:
- Roasted butternut squash puree – 2-3 tbsp
- Farmer cheese (tvorog) – 1.2 lbs
- 1 egg (can be 2 if small)
- Flour – 4 tbsp
- Salt 1/3 tsp
- Butter – 2 tbsp for garnish + sage leaves
Directions:
- Place all the ingredients into a bowl and mix really well with spoon forming sticky dough
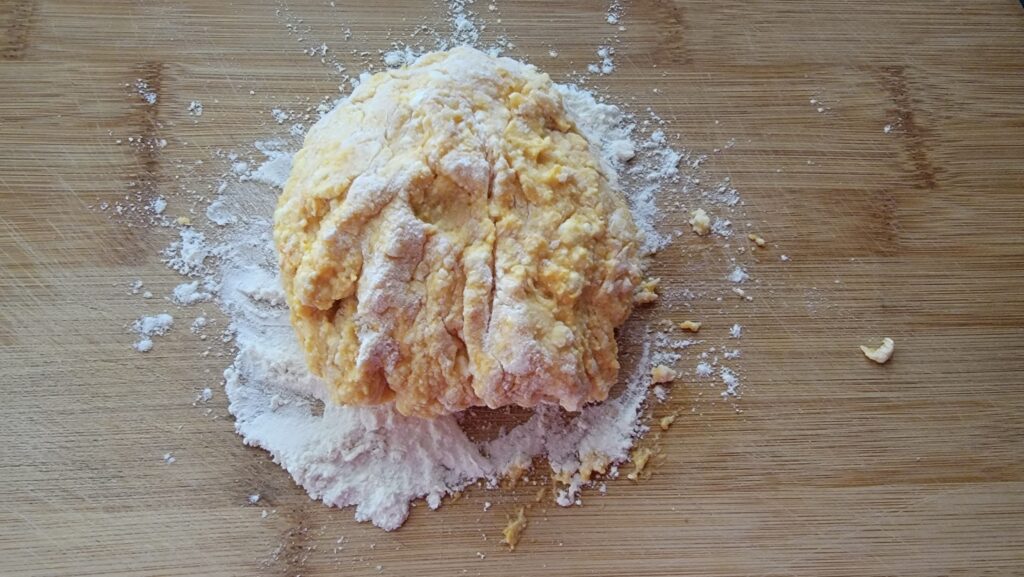
- Put the dough on well floured board, flour your hands too.
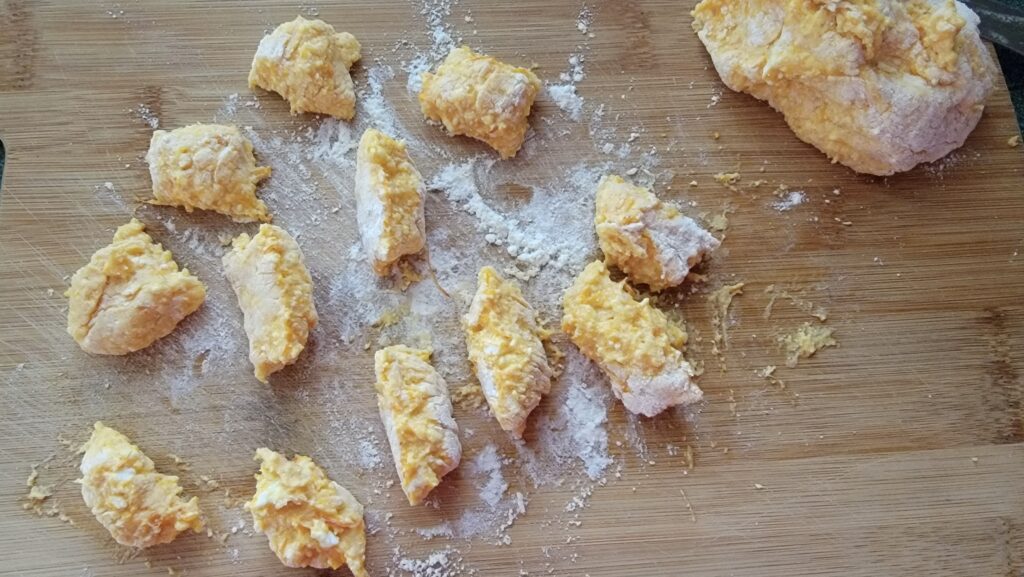
- It should be sticky, but workable, there is no need to kneed it, but you should be able to form about an inch wide log with your hands
- Cut the log into small pieces
- Put pot with water on medium to high heat, add 1 tsp of salt and bring to a boil. Do not reduce the heat!
- Place several dumplings into boiling water, don’t overcrowd the pot.
- Boil the dumplings for 2 minutes
- Remove from the pot with a skimmer spoon
- Melt butter in a small pan, add couple of sage leaves (or dry sage), pour over gnocchi
- Serve hot

Sourdough Olive bread
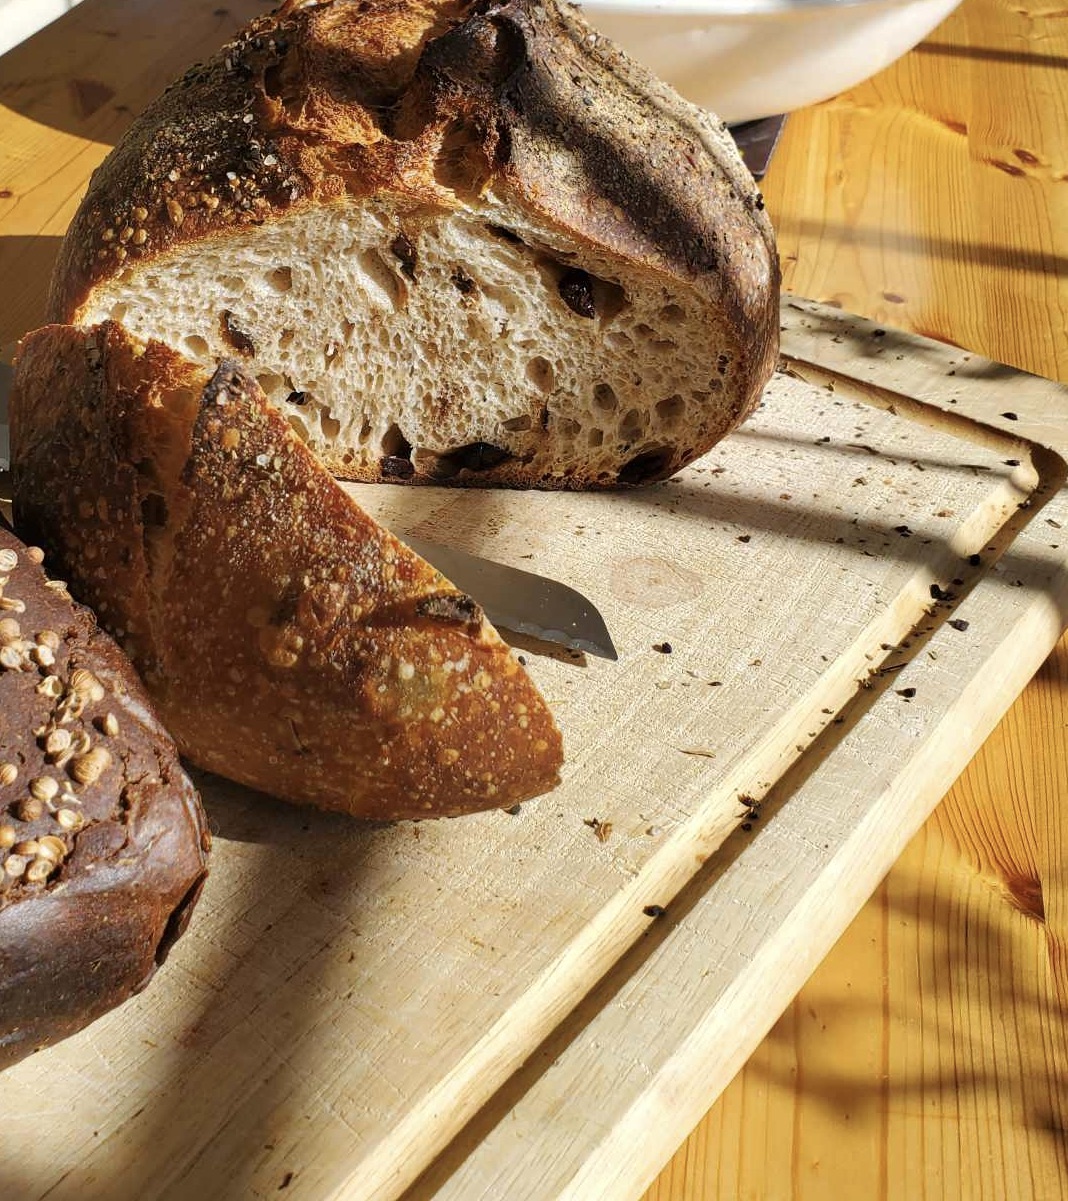
No special equipment or technique required, just your hands and some planning ahead. To have a freshly baked loaf on Saturday morning you need to start the process Thursday evening by waking up your starter. Then on Friday you mix, fold, pre-shape and shape. Sounds like many verbs, but each action takes under 5 minutes, fermentation and proofing takes time. But the result is so rewarding!
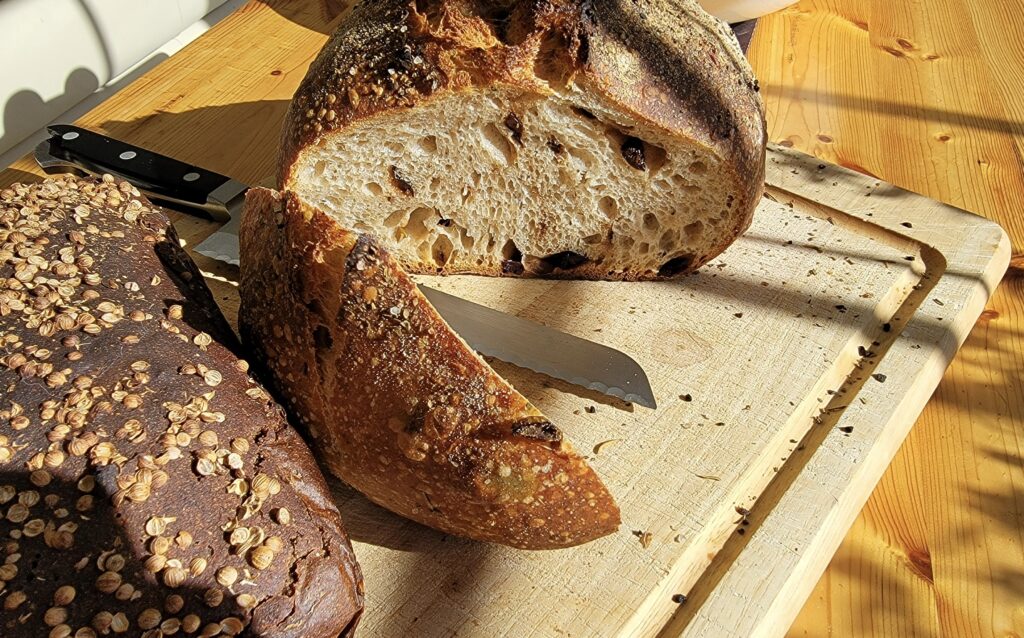
Ingredients:
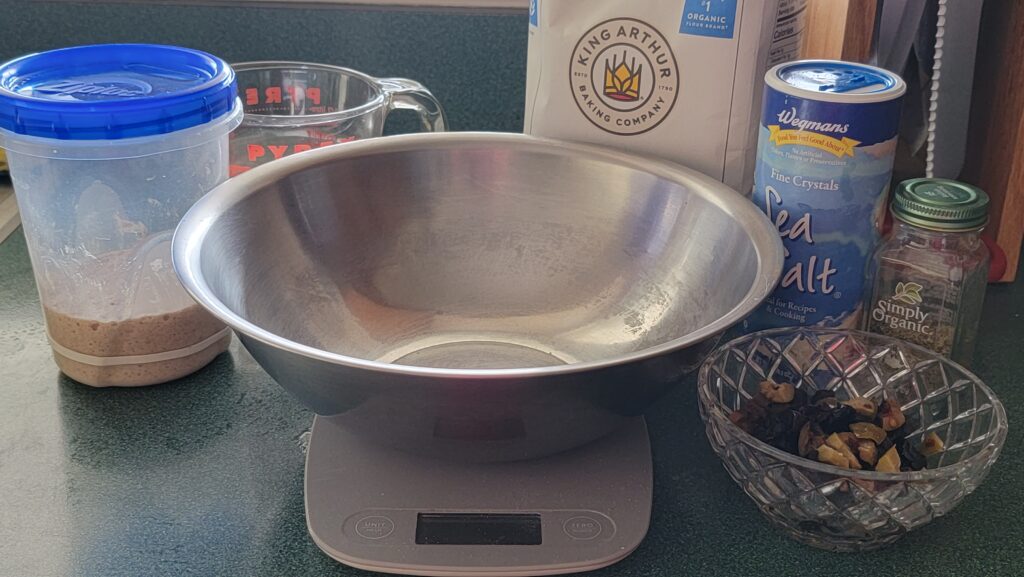
- Active leaven – 100 gr
- Room temperature water – 350 gr
- All purpose flour 450 gr
- Whole wheat sprouted (spelt) flour – 50 gr
- Chopped olives (2-3 tbsp)
- Salt – 10 gr
Directions:
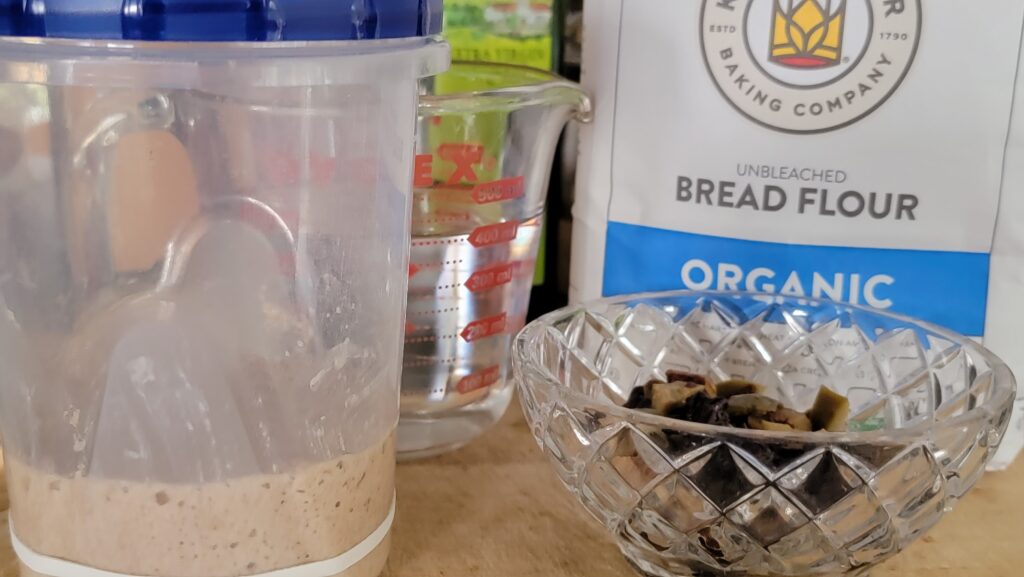
- Mix 20 gr cold starter with 50 gr water and 50 gr all purpose flour into a jar (or tall container)
- Leave on a counter top overnight (10-12 hours at least or till it raises 2.5-3 times in volume)
- In a bowl mix your active leaven with room temperature water
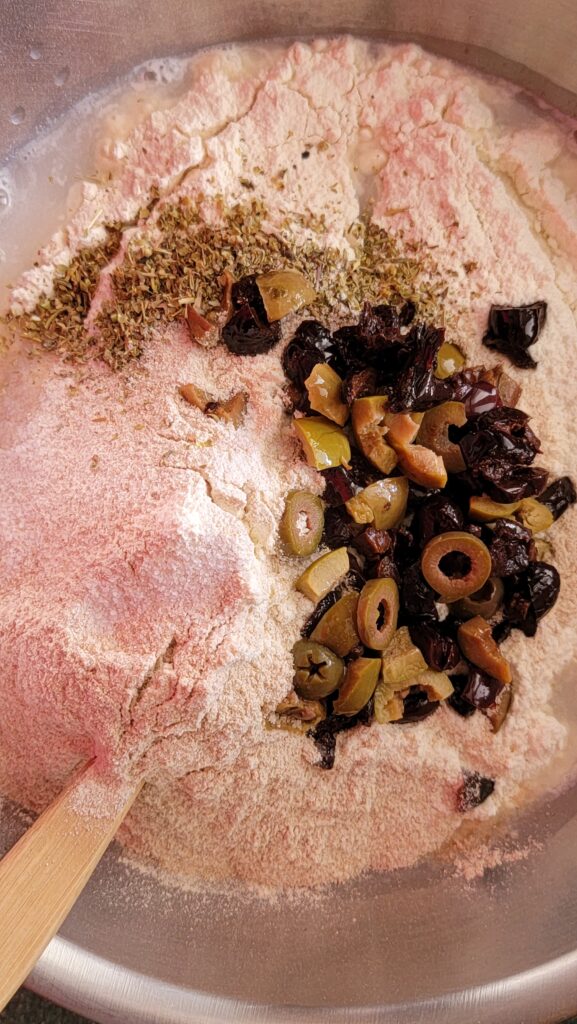
- Add flour, salt, chopped olives
- Mix everything with spatula just to incorporate
- Cover with plastic wrap and leave in warm place for 30-40 minutes
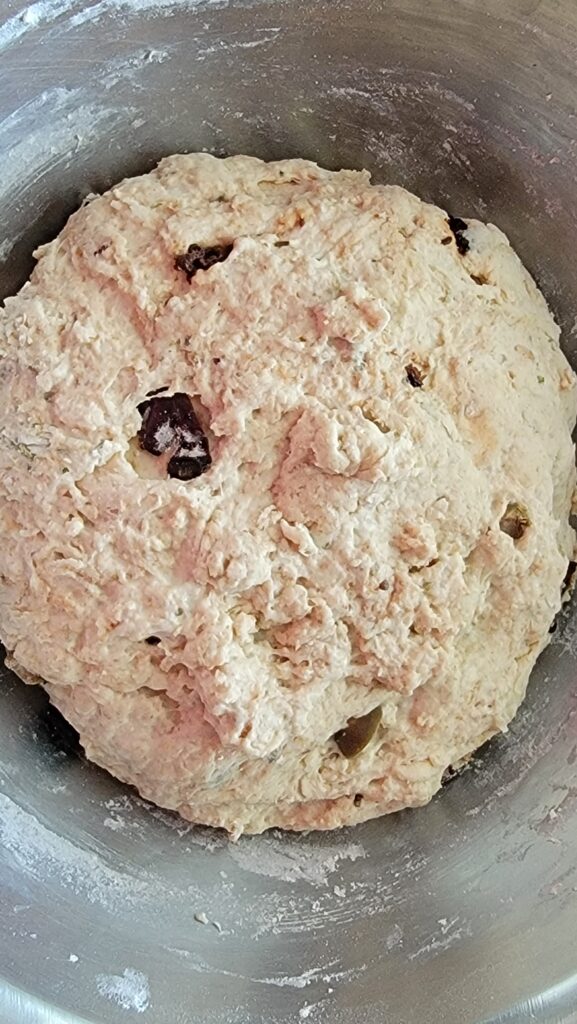
- Fold the dough 4 times every 30-40 minutes (depending on how warm is your house). You should feel the dough elasticity increase with every folding.
- Leave it on the counter top for the bulk fermentation for a couple of hours.
- After 2 hours (the dough should raise about 40-50%) put the dough onto working surface lightly dusted with flour.
- Using the scraper pre-shape the dough onto a ball by pulling a dough from each side and flipping each side into the center (letter fold) Leave your ball sim side down to rest for 15-20 minutes
- Prepare your proofing bowl or basket, it can be any bowl lined with tea towel sprinkled with flour (rice flour is best for that, but any flour will work).
- Make a final shaping into a boule or batard and put the dough inside your vessel seam side up.
- Leave on the counter top to proof for another 2-3 hours till your dough rises about 20-30%
- Put it in the fridge overnight for cold fermentation.
- The next morning place your heavy pan (dutch oven works best) into the oven and heat it for about 20-30 minutes to 500° F
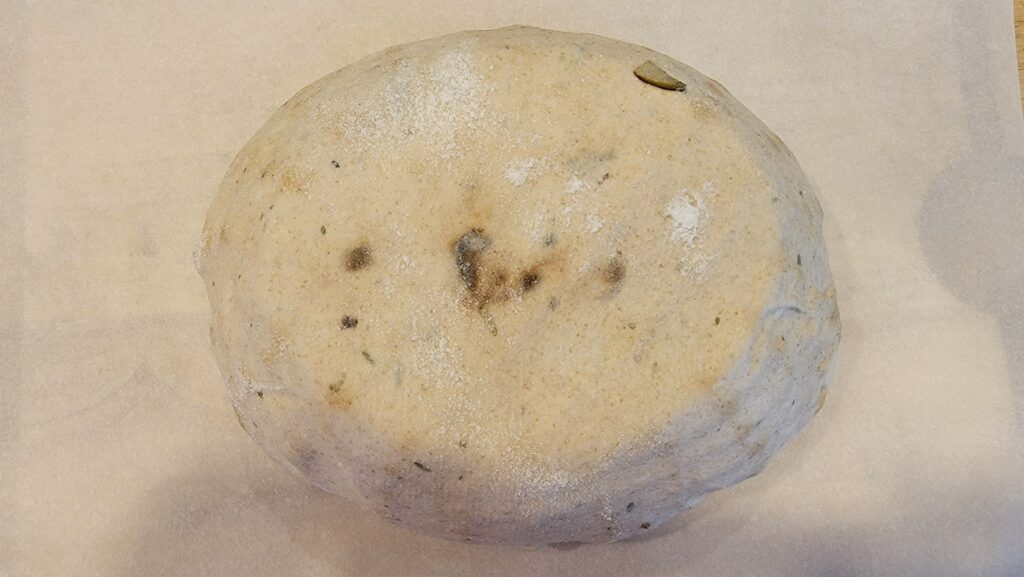
- When the oven is pre-heated pull your dough from the fridge, flip it over the piece of good parchment paper.
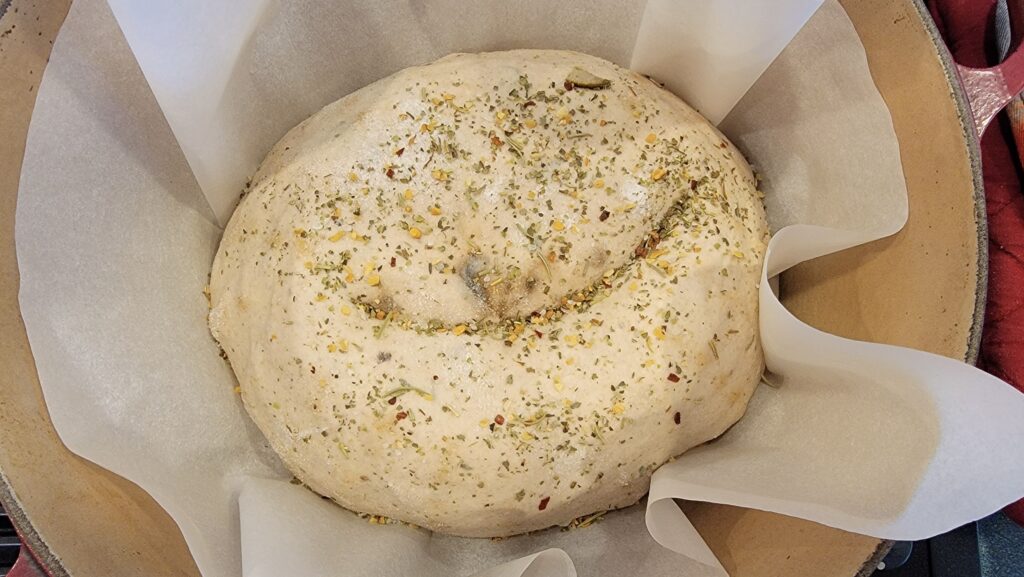
- Using very sharp knife make a cut in the dough so it can raise
- Sprinkle with some herbs or spices of your choice (optional), I use bread dip blend
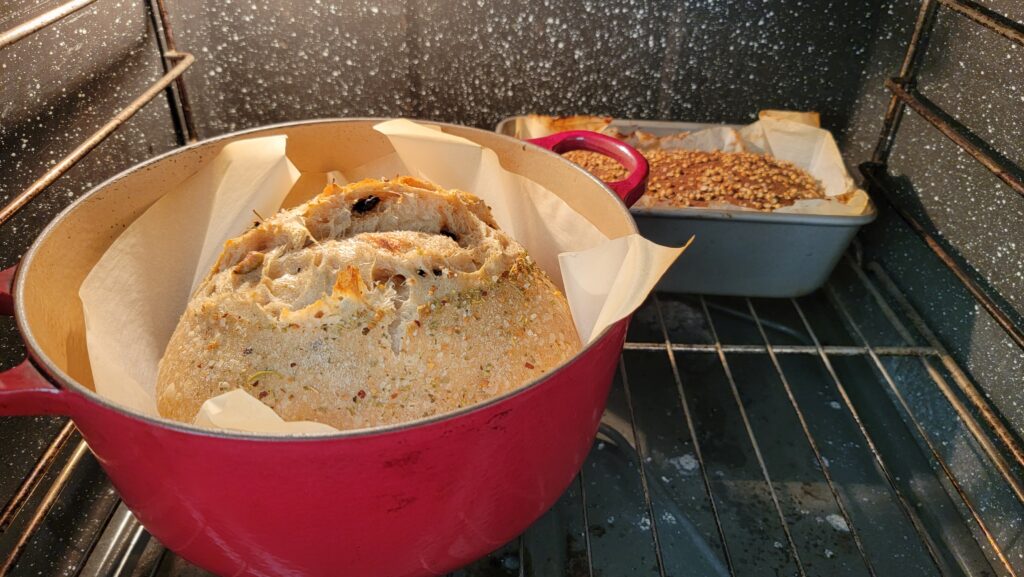
- Using gloves very carefully remove hot pan from the oven, open the lid. Quickly place your dough inside, cover the lid and put the pan back into the oven.
- Bake on 500° F for 20 minutes, then remove the lid and bake for another 20 min (or till your bread is golden brown)
- Remove the bread from the pan and put on the rack to cool. Let it coll completely before cutting.

Legendary Russian Rye bread – Borodinsky
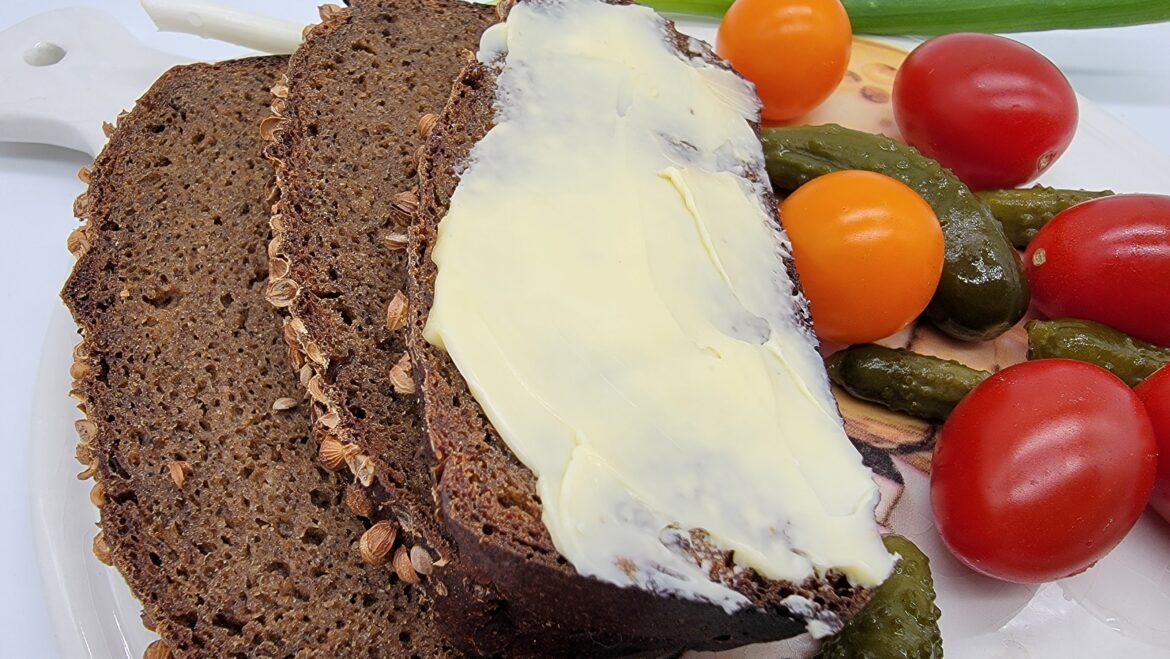
Very famous ballerina Maya Plisetskaya once said “People didn’t invent anything better than bread and butter”. I am sure this is the bread she meant
